The Fanatic was on consignment at CGT Kayaks and Paddleboards and I put my Zeedonk on consignment in its place. If you're in the market for a super-lightweight, all-carbon race sup for under $900 you can find my Zeedonk at CGT. Say you saw it on my blog and they might give you a discount. Here is why I did the switch:
1. I wanted to put a mast-track in the race SUP to mount a windsurfing sail, but I wasn't sure the 10 kg Zeedonk would hold up to the extra abuse it would take in windsurfing mode. The Fanatic is a few kg heavier with a thicker skin more like a standard windsurf, so I figured it would be a safer bet for windsuring use.
2. The noses on the two boards are different. The piercing bow of the Zeedonk works really well for paddling in flat water, but I could imagine it being tricky to negotiate through chop at higher windsurfing speeds. In contrast, the bow on the Fanatic is blunt and upturned, which I figured would make it more "self-trimming" in rough water. (Both boards are supposed to be good for open-ocean "downwinder" paddling and "catching bumps," but I think the Zeedonk takes a more active approach to fore-aft trim when doing that.)
3. When I borrowed the Fanatic for a test-paddle in the Imperial River I found that it was only a little slower than the Zeedonk. That was important, because I didn't want to totally sacrifice my hopes of keeping up with the faster SUP racers in the CGT race series this year.
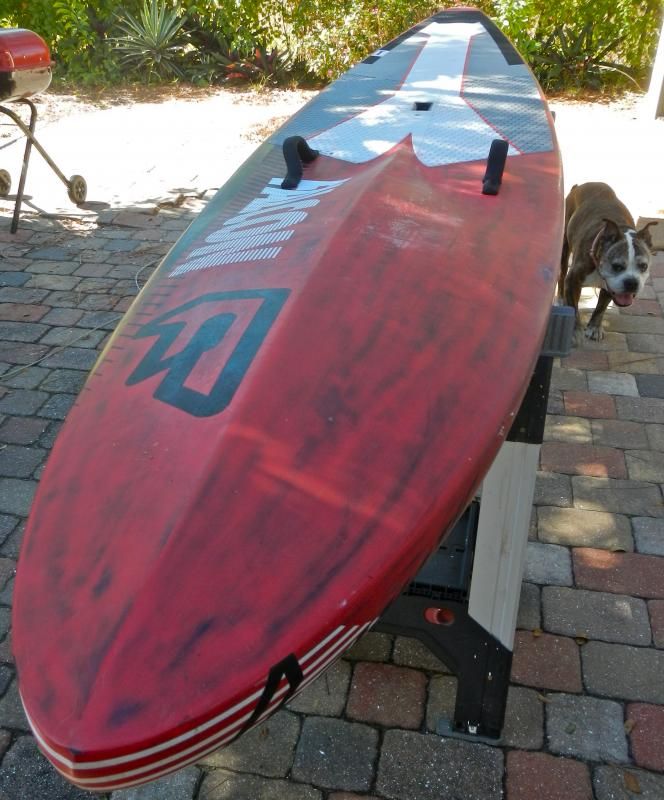
So far I've been quite happy with the Fanatic Falcon. After pushing myself through some more training runs on the Imperial River, trying a new fin, and adjusting to the board's different style, I've got my course times down to where they were on the Zeedonk. The board is definitely an unusual shape, but it works. The bulbous nose is its most notable feature.
<
The nose is supposed to help it bob over waves and chop that it hits at a straight-on or side-on angle, and help prevent it from "pearling" under the water when riding down a wave. I paddled the board one time in choppy waves on the Gulf of Mexico. Though it was a lot less stable and less maneuverable than my Exocet WindSUP and Angulo Surfa, it was pretty powerful for catching waves and getting long, fast rides.
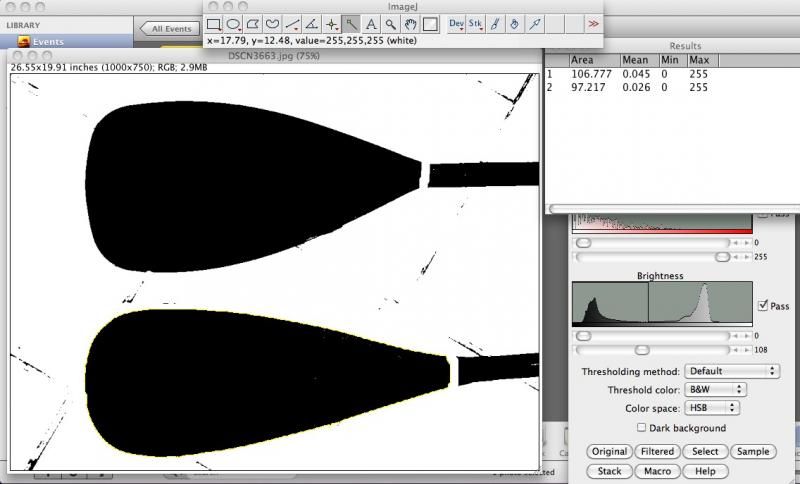
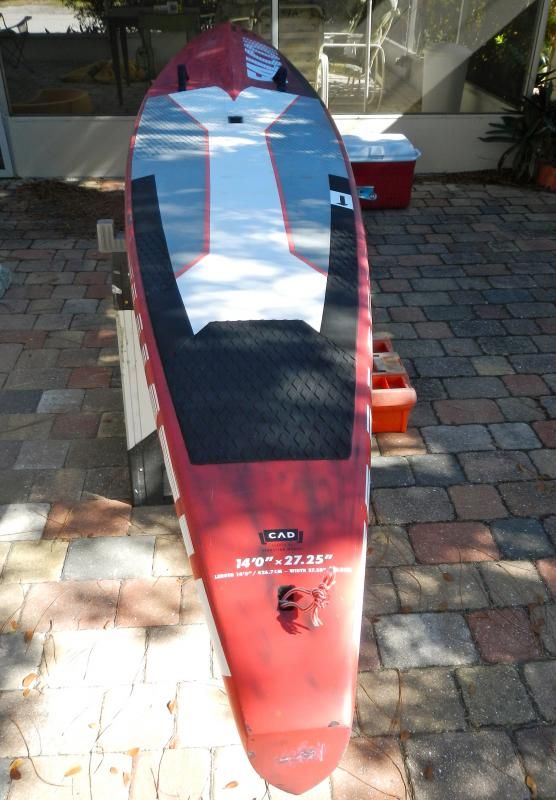
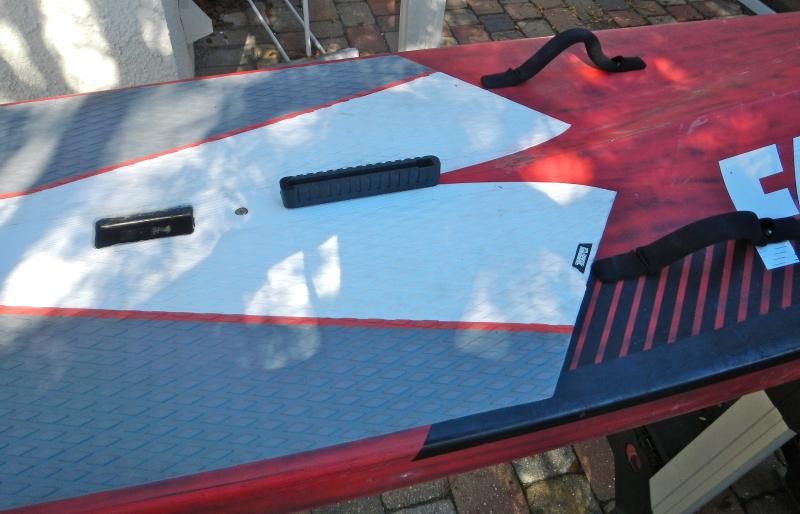
Balancing out the bulbous nose is a long-tapered, narrow tail with the fin set unusually far forward. This makes the overall outline of the board a teardrop shape, like the cross-section of a fin. There's minimal wake behind the board when in motion which implies minimal turbulent drag.
The weird straps on the front of the board are like suitcase handles for when you're running the board into or out of the water at the start or finish of a paddle race from the beach. I'm not sure I'll ever use them when racing, but they came in handy as tie-down points when I improvised a windsurf sail attachment system for testing purposes. (I wanted to see roughly if the board was sailable before I put any permanent holes in it.)
For the improvised system I taped a foam block to the bottom of a universal joint so that it could rest on the deck of the board without denting it. Then I tied the universal joint in place with a line to each of the straps, and a line to a little block of wood that I wedged into the recessed carry handle of the board. The carry handle is about in the middle of the board, and I assumed that the mast base would need to be just a bit in front of that.
When I got the board to the beach to test it with the jury-rigged sail attachment it was windier than I had expected; about 10-15 mph with some chop on the Gulf of Mexico. I rigged a 6.4 sail and took off like a shot. The board definitely accelerates quickly and goes fast in a semi-planing mode. In gusts it would get into fully-planing mode, but with a rooster tail of spray behind the tail, indicating a less than optimal pattern of water release from the unusual tail. The board handled the chop very well and went upwind at a steep angle when railed to windward. It took some work to tack, as expected, but it did tack. Jibing was easy because it would keep gliding on the long, voluminous tail even when I stepped far back on the board to make it pivot around. Overall it exceeded my expectations as a windsurf board, so decided to go ahead with the mast track installation.
The first step was to peel away the deck pad where the mast track would go.
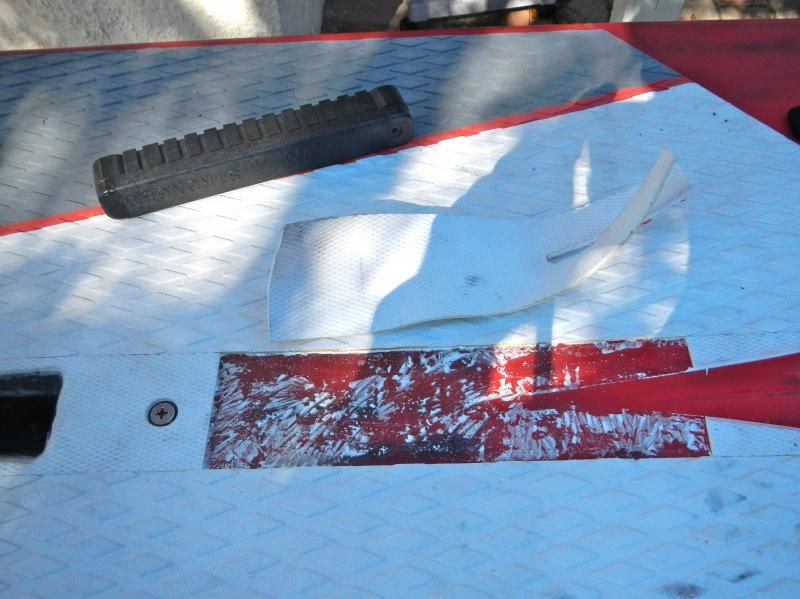
The next step was to route out a hole a little bigger than the mast track. I filled the hole with a sandwich of high density pink insulation foam, with a layer of fiberglass between the two thin slabs of pink foam and a layer of fiberglass and filler between the pink foam and the foam of the board's interior.
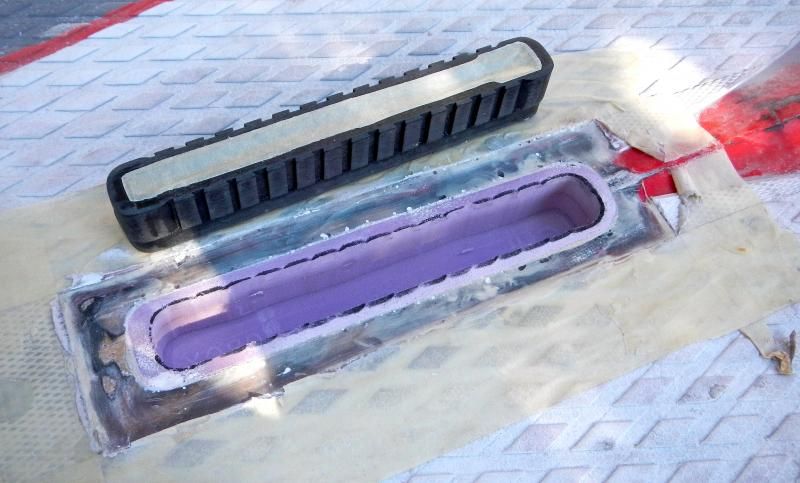
After that cured I routed a hole within the pink foam just big enough for the mast track itself. (I bought the mast track from Roy Massey at Ace Performer.) The next day I put the mast track itself in, in a manner similar to that used for the pink foam. The final phase was to fair the excess fiberglass and epoxy off the top of the mast track and lay three layers of fiberglass over the area, overlapping with the mast track, pink foam, and some of the original decking of the board. I topped it all off with the piece of deck padding that I'd saved so it will look good less conspicuous.
I'm now on vacation at my folks house in North Carolina, but I'm looking forward to testing the real mast track when I get home in the new year. I'm curious how the board will work in really light conditions with an 8.0 or 9.5 sail, as sort of a poor-man's Starboard Serenity / K15.
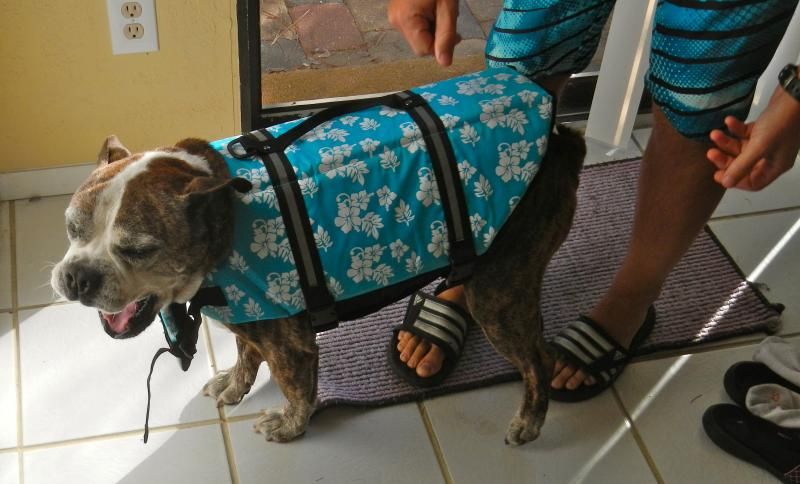
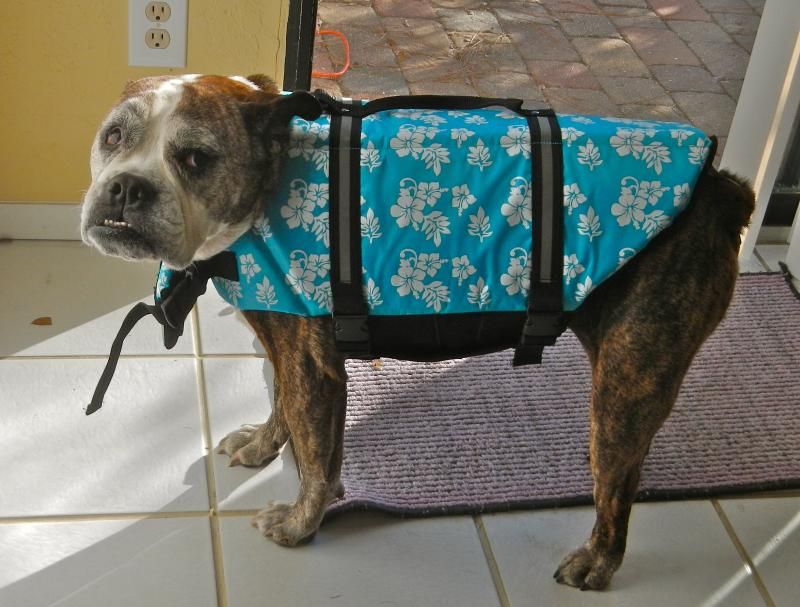
In other news, my dog gave me a scare the other day when she fell off the back of my WindSUP and took a moment to pop back up to the surface, swimming poorly. To be safe we're going to have her wear this lifejacket from now on. I think she looks good in it.