Thursday, September 26, 2013

Marine Biology Study Abroad... In Florida

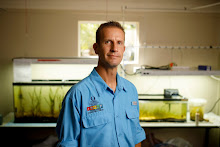
Last summer I helped organize and teach an undergraduate marine biology course. That in itself isn't any different from what I do during the normal school year at Florida Gulf Coast University. What made the summer course special was this:

1. The course had students from all sorts of other universities, both in and outside of Florida.
2. The students were extra smart and motivated; the future marine biology leaders of the world, if you will.
3. The course was only about 10% lecture and was 90% hands-on real-life outdoors stuff.
4. I only had to teach for one week, because the course was jointly taught by faculty from several Florida Universities and Marine Labs. Students spent one week at FGCU's Vester Field Station, but that was just one stop on a 5 week tour around the state, which stopped at a number of other cool places, including the Florida Keys Marine Lab.

In anticipation of running the course again in summer 2014, the organization that coordinates it, the Florida Institute of Oceanography, has put together the following propaganda footage from the 2013 course...

Study Abroad in Florida - SUS/FIO from Media Innovation Team on Vimeo.

Sunday, September 22, 2013

Smart Blog Readers, Limiting Factors

Those who predicted how my windsurf repairs would hold up got it right.

The boom didn't break my first time out (lame, non-planing session on Saturday), nor did it break the second time out (nice planing session today). It remains to be seen if it will break when I sail in more wind or with a bigger sail, but I'm cautiously optimistic.

The trimmed-down board felt slightly different, but not drastically better or worse than before. The narrowed tail is a bit sinkier when I'm schlogging, but it's still pretty darn wide, and my planing threshold hasn't changed noticeably. I could be imagining it, but I think railing the board to leeward has become a little easier, which is one of the things I was hoping for. The board also seems to jibe with less foot pressure and might be a bit smoother upwind through chop. Upwind angle seems similar to before the change- great by typical shortboard standards, but not great by formula board standards. I think that has more to do with the stiff old fin than with the board. When I'm well-powered upwind is respectable, but I'm usually not well powered, so I might be better served by a softer, "liftier" fin.

Toward the end of today's formula session the wind-chop had built to a large enough size that I thought it would be fun to ride my Exocet Windsup 11'8". So I rigged a 6.8 sail and went out on that. There's a point at the North end of Bonita Beach where broad shallows groom the chop into rideable (albeit puny) waves. I had fun out there, but there's only so much you can do on a crumbly, knee-high wave, which brings me to the second point of this post:

There are three possible limiting factors to windsurfing or paddleboarding performance:

1. The rider.
2. The equipment.
3. The conditions.

Sometimes we give too much or not enough credit to particular factors. For example, we might think a lousy board was awesome because we used it on an awesome day in an awesome place. Or we might think a great board was lousy because we didn't have the right skills or conditions to use it properly.

When it comes to waves, the right conditions are especially important. No matter how good your equipment is, you can't ride a wave unless you have a wave. This also works in reverse: If you're a good rider with good waves you can shred with almost any equipment... and indeed the equipment may not actually matter as much as people (myself included) tend to think it does. Case in point: Jeff from New York, who is profiled on the Peconic Puffin windsurfing blog. Jeff has been looking awesome paddleboarding waves on a Starboard "GO"; a windsurfing board that was never intended for waveriding. He's doing awesome because he's a good rider, and he has smooth, sizeable waves to ride.

Meanwhile, here in SW Florida I obsess about the nuances of my waveriding gear, which is ironic because I almost never expose the gear to waves over knee high.

The author trying his highfaluting board on a lowfaluting wave last winter.
 photo smallwavesup_zpsc776d6d7.jpg

Sunday, September 15, 2013

Hackjob Windsurf Modifications- Yet to be Tested

My last windsurfing post was about breaking my big boom. Since the break coincided with the start of a busy semester of teaching, it took me a while to deal with it. I would tinker with it for an hour or so, then hit a setback, then have to leave it for days to keep up with real life things. The downtime was prolonged by my decision to concurrently attempt liposuction on my formula board; narrowing the tail section 5 cm by cutting "wingers" off the sides.
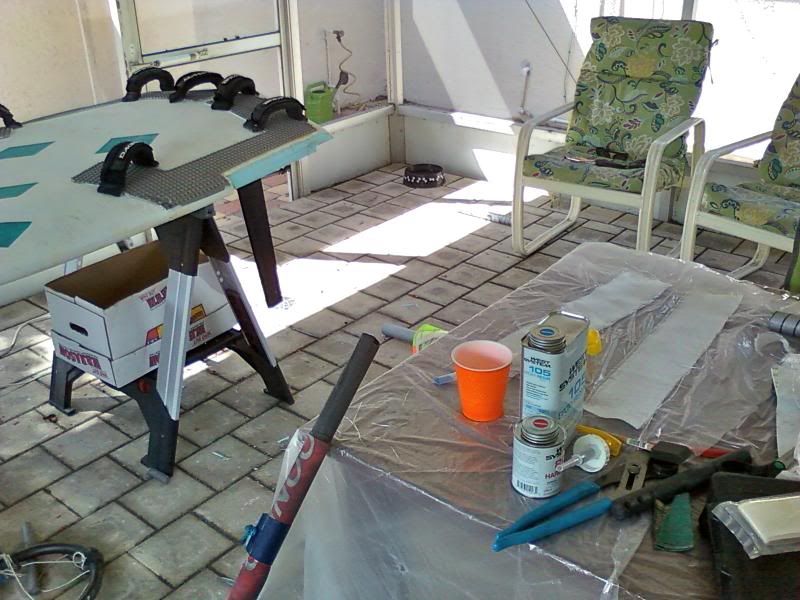
 photo 0908131527_zps9d2a688b.jpg

To stay sane in the meantime I sneaked a few paddleboard sessions in flat water or barely-catchable waves. These days I'll chase any wave over 1 foot high, because that's juuuust big enough to catch with the sup, and it's about the maximum size you can hope for in summer in West Florida. I also took the windsup out for a non-planing cruise with my 8.0 sail; the biggest sail I can rig without my big boom. That slow-motion windsurfing session really emphasized that I needed to get my big-sail toys working again.

Finally, this week, I got everything done. Here's a summary of what I did:

Boom-
*Shaved away the grip around either side of the break, and filed down the carbon fiber snags inside the break.
*Cut a ~7" chunk of narrow carbon tube from one arm of the tailpiece to be an internal splint for the break.
*Cut a ~12" section of a broken mast top to be an external splint for the break.
*Sanded and/or wrapped with fiberglass cloth as necessary to make both splints fit snugly.
*Epoxied the splints into place, and made sure the boom was aligned right by putting the tailpiece back in.
*Waited for it to harden then sanded the rough bits around the external splint.
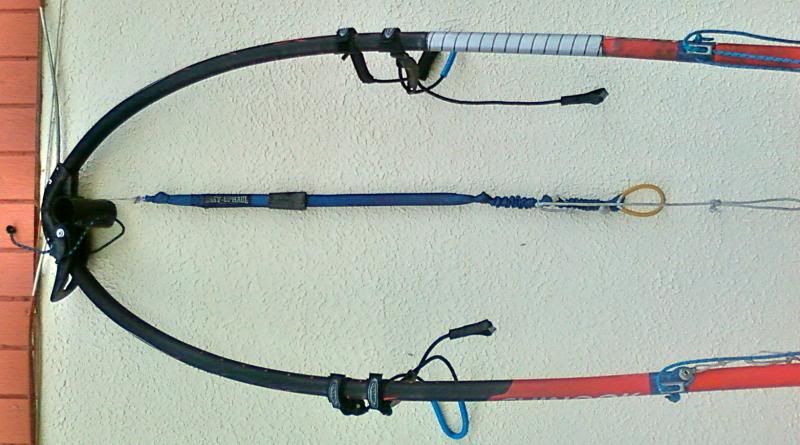
 photo 0912131731_zpsb53022b5.jpg

Board-
*Made a mark at the corner of the tail, 1" in from original edge of the board.
*Measured 15" up from the corner of the tail and made a mark 1/2" in from the original edge of the board.
*Sawed a straight line between the marks with a jigsaw that I bought at Home Depot.
*Awkwardly sawed a bevel on the upper deck of the board at the edge of the new tail outline.
*Epoxied a couple layers of fiberglass over the exposed foam of the cut-out area.
*Spread some epoxy mixed with filler over the area to fair it and to glue on strips of foam padding for my heels.
*Sanded things as smooth as possible and painted over the modified area so it would match the rest of the board.
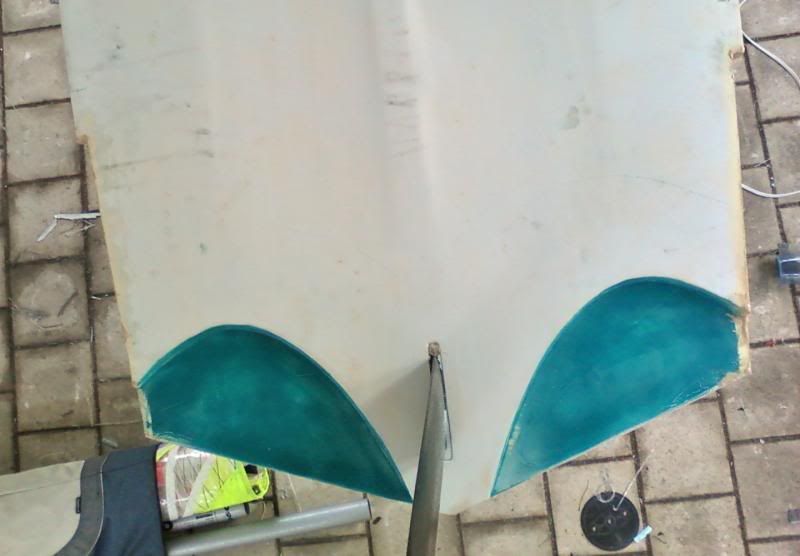
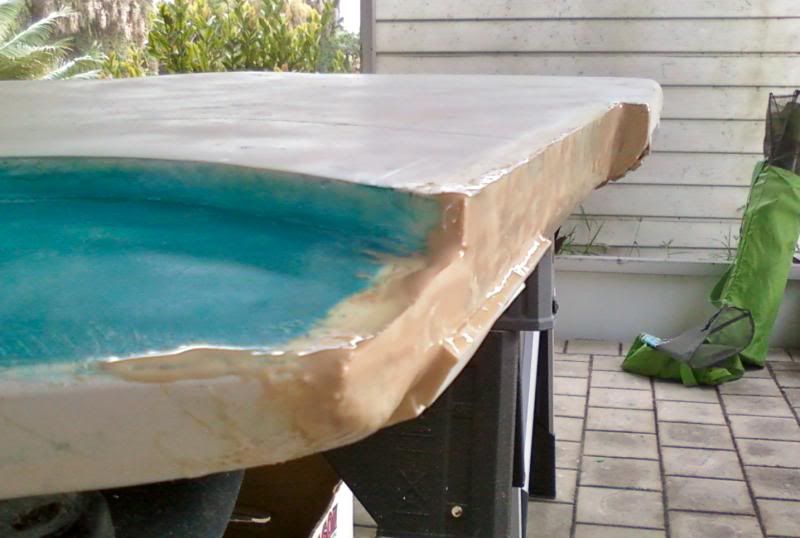
 photo 0912131747_zps2844f2f4.jpg

 photo 0912131746_zps46398917.jpg

This morning there was a nice 10-14 mph breeze blowing, so I loaded up the gear and headed for the beach. I brought along my GPS so I could measure any changes in top-speed or upwind angle that my board modifications might have granted. I was low on gas, so I stopped for a fill-up at the Valero station. With a full tank, a fully loaded van, and a some nice wind, I was ready for ACTION!!!!

Then my @#$@#%$ piece of @#$% van wouldn't start. Rhonda came to the gas station to give me a jump but that didn't help. So I called AAA and had to watch my weekend windsurfing dreams roll away on a tow-truck. Sigh...
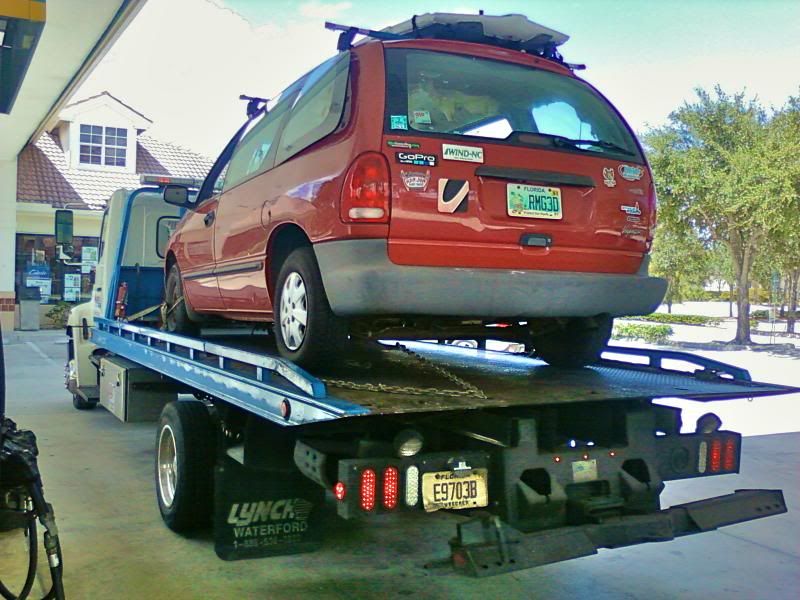
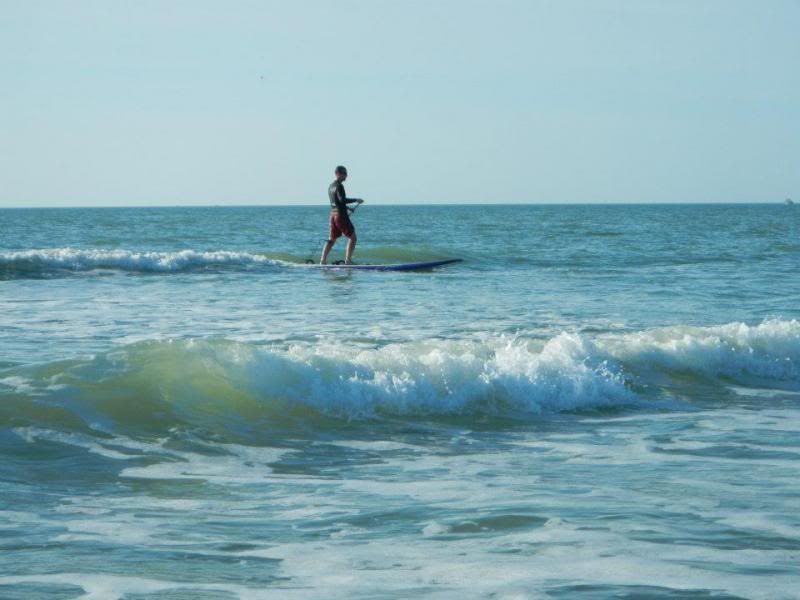
 photo 0915131318_zps765b36e3.jpg